
In an effort to expand my own baking repertoire and in a desire to include my daughter in expanding her baking skills, I am planning out 34 recipes to bake with my preschooler for the year. This will be one recipe a week from Labor Day to Memorial Day minus 4 vacation weeks. Most will be sourdough, but I will also provide a non-sourdough version for those who would like it.
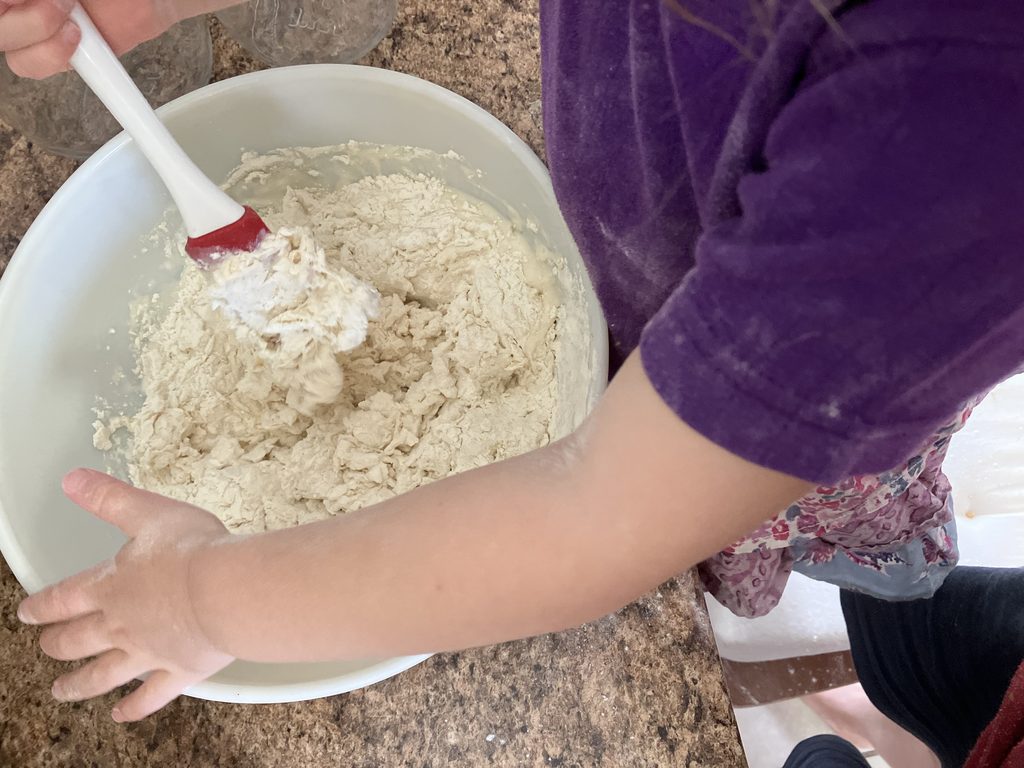
In our house, we are heavily into sourdough, and, for gut health, I am fermenting all grains before baking or consuming. We are also not consuming sugar, but instead will be using honey, maple syrup, or black-strap molasses for sweeteners. Though most of the time we rely on the fruit in recipes to sweeten them. We also avoid all soy products, as well as canola and vegetable oils.
Many of these recipes have been on notecards in my recipe file for years. I probably did get them online from other people, but unless I wrote where on the card, I have no idea. Most have been adapted and changed over the years, and all instructions are my own. If I do take a recipe from another site, I will link the site rather than copy the recipe.
September – Just Getting Started Baking
Week 1: Pancakes from Scratch
If you have never made pancakes from scratch, I highly recommend it. It is surprisingly easy and only takes 5 more minutes than using a mix. I love putting jam made with all fruit on my pancakes, but my daughter is a die-hard maple syrup fan. Up until starting sourdough, here was my go-to recipe for pancakes.
Simple Pancakes
1 cup whole milk
1 tbsp apple cider vinegar
Or 1 cup buttermilk
1 ¼ cup flour
1 tbsp baking powder
½ tsp baking soda
¼ tsp salt
1 egg
1 tbsp melted butter
Mix the milk and vinegar together and let sit while preparing the other ingredients or use buttermilk. I often don’t have buttermilk on hand, so I usually used sour milk. If you are dairy free, as we were when my daughter was younger, oat milk works great as well with vinegar.
Start melting the butter in your pan first.
In a small bowl, mix the flour, baking powder, baking soda and salt together. My daughter helps dump in each ingredient and stirs for me till she gets tired and I take over.
Add the melted butter and egg to your medium bowl. Then add your buttermilk or soured milk, don’t be surprised if it looks a bit funky.
Mix together well. Remember messes can be cleaned up and this is a very forgiving recipe if some goes flying.
Pour desired size of pancake in your preheated pan on medium-low heat. Flip once you see bubbles in the middle of the pancake. Your pancake should be golden brown. The second side should take about 30 seconds.
Serve with desired toppings. Butter and maple syrup is a classic, but jam, fruit, nut butters and chopped nuts with whipped cream can also be delicious.
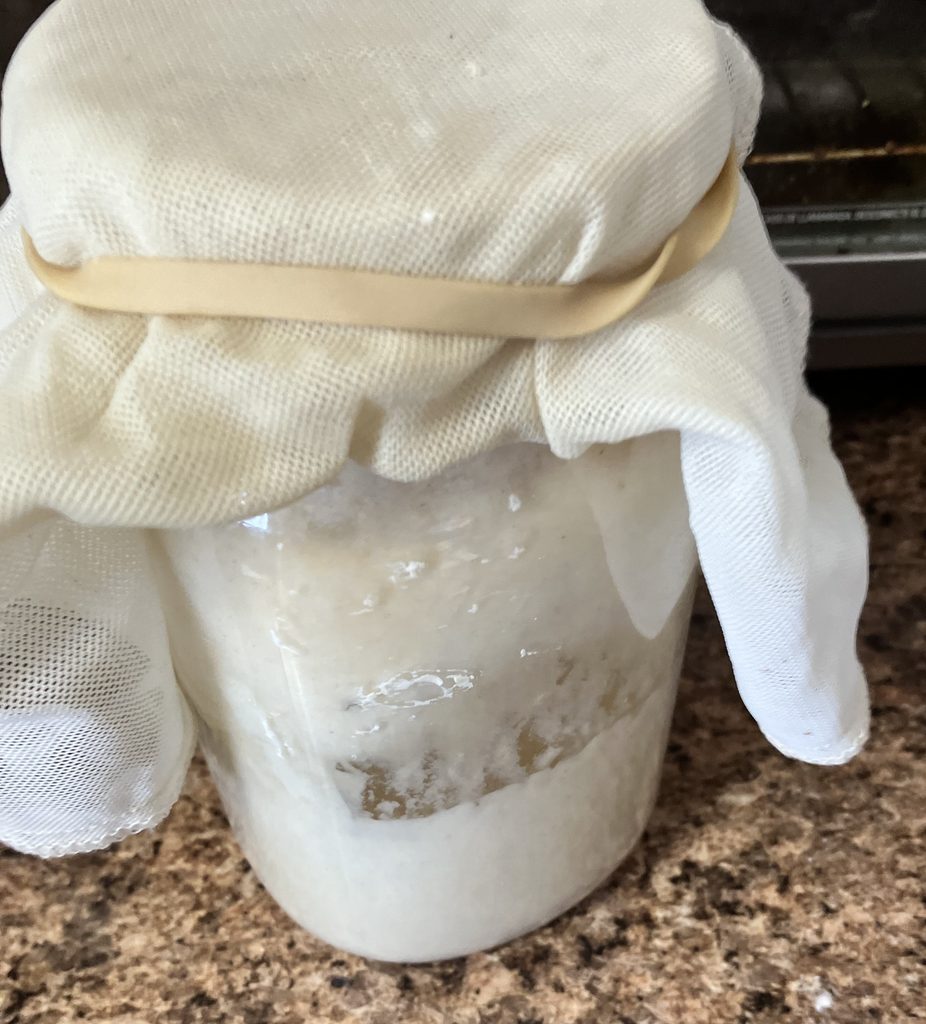
These days we are making overnight sourdough pancakes. I love the fact that I prepare them the night before and cook them up in the morning. They also have a pleasant tang to them that I enjoy, as does my daughter. The milk doesn’t need to be soured because of the sourdough, but it might be interesting to try these with buttermilk rather than milk.
Sourdough Pancakes
¼ cup sourdough starter (ideally fed 8-12 hours beforehand) or discard
1 cup flour
½ cup milk
½ tsp salt
1 egg
2 tbsps melted butter
The night before mix the sourdough, flour and milk together till it forms a ball. Cover tightly to keep from drying out. My daughter helps with stirring and dumping in the ingredients after I measure them.
The next morning melt the butter in your pan, ideally a cast iron pan. Then it is also precoated for the first pancake.
Add the salt, egg and melted butter to your overnight sourdough. Mix until well combined. My daughter usually stands on a chair and mixes first.
Pour desired size of pancake in your preheated pan on medium-low heat. Flip once you see bubbles in the middle of the pancake. Your pancake should be golden brown. The second side should take about 30 seconds.
Serve with desired toppings. Butter and maple syrup is a classic, but jam, fruit, nut butters and chopped nuts with whipped cream can also be delicious.
Week 2: Blueberry Muffins
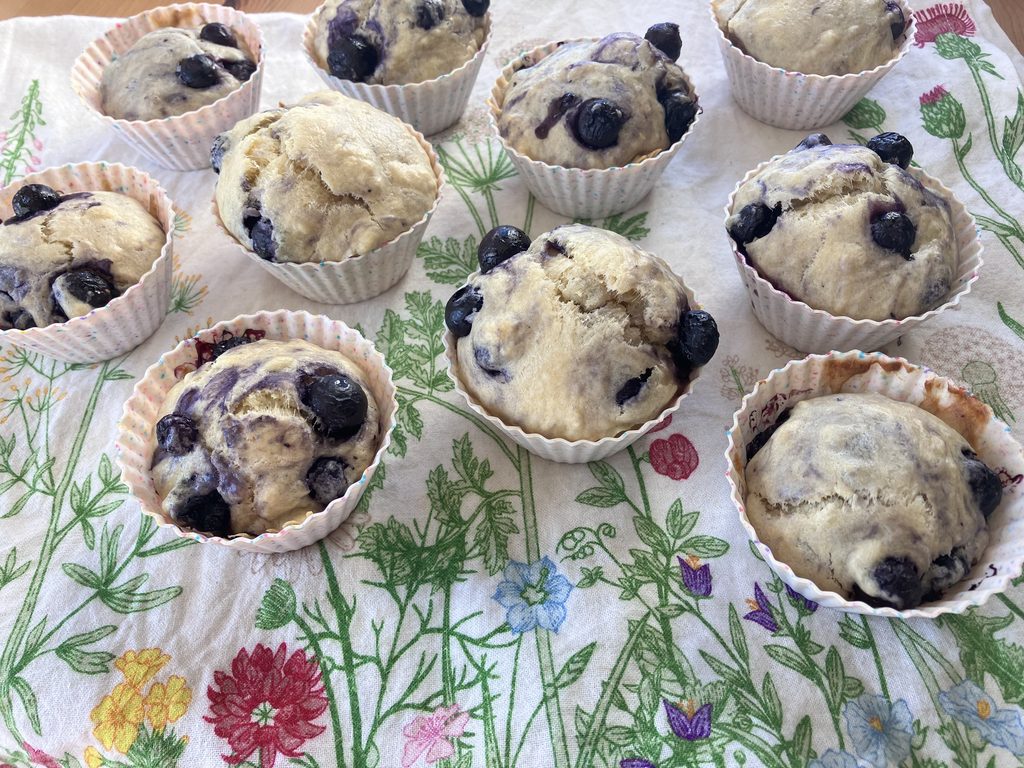
Although I associate blueberry muffins with summer, technically this is the last week of summer, and I wanted to celebrate the end of summer before diving into everything autumn. I am making these recipes with no sweetener but the blueberries. They are plenty sweet that way for my daughter and myself, but you can add maple syrup to give it a richer and sweeter flavor. Baking muffins with my preschooler is one of my favorite mother-daughter activities.
Blueberry Muffins
2 ¼ cups flour
1 tsp baking soda
1 tsp baking powder
1 tsp salt
1 cup whole milk
1 egg
¼ cup melted butter
1 tsp vanilla extract
2 tbsps maple syrup (optional)
1 cup blueberries
Preheat the oven to 350℉.
Melt the butter in a pan or pot over low heat.
Mix the flour, baking soda, baking powder and salt together in a large bowl. My daughter enjoys stirring the dry ingredients.
Add in the milk, melted butter and vanilla. Mix well together.
Lastly add the blueberries, fresh or frozen. If frozen, expect the dough to turn blue. Don’t over stir, just fold in. My daughter really likes seeing the muffin dough turn blue even though many recipes try to minimize the blue transfer, we embrace it.
Spoon into a muffin tin. Let your child spoon some of the dough in. It will make a mess, but you can clean it up and even out the muffin dough distribution afterwards.
Bake for 20 minutes until golden brown on top.
My daughter loves muffins, so she will be willing to help with any part of making muffins. With a three-year-old, willingness to participate is an essential first step. I will measure out all of the ingredients and let her dump them in the bowl. She will stir while I measure. When she runs out of steam, I will take over stirring.
Sourdough Blueberry Muffins
½ cup Sourdough Starter
2 cups Flour
1 cup Whole Milk
2 tbsps Butter
2 Eggs
1 tsp Vanilla Extract
½ tsp salt
1 cup blueberries, fresh or frozen
Feed your starter 8-12 hours beforehand. Although you can try this recipe with discard, it will have more flavor if sourdough starter is used.
The morning of, or night before, mix sourdough starter with the flour and the milk until it forms a ball. Cover tightly and let sit in a warm spot for 8 to 12 hours. You can get away with 6 hours or as many as 16 hours. If you hit the 16 hour mark and can’t make the muffins yet, put the bowl in the fridge for up to 3 days. My daughter loves checking on the dough throughout the day to see how much it has grown.
Once ready, turn the oven on to 350℉.
Melt the butter in a pan or pot.
Add the melted butter, eggs, vanilla, and salt to your sourdough mixture. Mix well until fully combined. It might take a bit of time for the dough to come together. My daughter sometimes gets frustrated trying to stir this dough because it is very stringy and tough to mix at first.
Lastly add the blueberries, fresh or frozen. If frozen, expect the dough to turn blue. Don’t over stir, just fold in.
Spoon into a muffin tin. My daughter helps spoon the dough into the muffin tin. There will be some mess, but it can be cleaned up and I can even out the dough in the tins after her.
Bake for 20 minutes until golden brown on top.
Week 3: Basic Biscuits for my Preschooler
To celebrate our first week of autumn, I will be baking biscuits with my preschooler to go with a hearty potato soup for dinner time. This is the soup Healthy Potato Soup Recipe – Farmhouse on Boone we will be making. I also like to top it with avocado or bacon. Biscuits are very versatile and we also like them in the mornings with sausage, or really any time!
Basic Biscuits
2 ¼ cups all-purpose flour
8 tbsps cold butter, cut into chunks
1 cup whole milk
¾ tsp salt
2 tsps baking powder
2 tsp baking soda
In a large bowl, measure out the flour, then cut in the butter. I use a pastry cutter to mix in the butter, though your hands will also work. The butter should break down into pea sized balls or smaller covered in flour. My daughter likes to try to help, but she struggles with this part and quickly loses patience.
Once the butter is mixed in, add the milk, salt, baking powder and baking soda. Mix well. This is usually where my daughter can help stir.
Pop in the fridge covered for 30 minutes while making the rest of dinner.
Once chilled, roll the dough out on a cutting board to about ½ an inch thickness. My daughter loves using her own rolling pin, so I give her a small cutting board and portion of dough, while I roll out most of the dough.
Preheat the oven to 350℉.
We then use biscuit cutters to cut out the biscuits. This is my daughter’s favorite part. I let her cut out her own biscuits even if some are thin and others are lopsided. Then she cuts some from my dough as well.
I will collect all the unused dough scraps and roll them into a ball before popping them into the freezer for 5 minutes. Then we roll out the dough again and cut the last of the biscuits. Any unused dough at this point I usually just roll into a ball and flatten to cook with the others.
We put them on a tray to cook for about 15 minutes until golden brown.
I feel like biscuits are one of those recipes that can seem overwhelming at first because we put such high expectations on ourselves, but they really are easy to make. They also don’t have to look perfect to taste perfect, which is why baking them with my preschooler works. If you don’t have time to chill, roll and cut them out, just use a spoon and plop a spoonful on the baking pan and flatten them with a spoon. Then cook them. They won’t be perfectly round or super pretty looking, but they will taste wonderful.
Sourdough Biscuits
2 cups baking flour
8 tbsps cold butter, cut into chunks
1 cup sourdough starter (fed 8-12 hours earlier)
½ cup whole milk
¾ tsp salt
For these sourdough biscuits, measuring out the flour and cut in the butter.
Then mix in the starter. It is quite difficult if you start with the starter. Form into a ball, cover, and let sit in a warm spot for 8-12 hours.
Add in the milk and salt until fully combined. This may take some extra stirring.
Then pop in the fridge for 30-45 minutes to chill. These take a bit longer to chill than the other sourdough biscuits.
Once chilled, roll the dough out on a cutting board to about ½ an inch thickness. They may be a bit sticky depending on your starter consistency. You could try popping the dough in the freezer for 10 minutes if this is the case.
Preheat the oven to 350℉.
We then use biscuit cutters or cookie cutters to cut out the biscuits. Using cookie cutters can be lots of fun as well if you don’t mind lopsided baking, and it is one of my preschoolers’ favorite parts of baking.
We put them on a tray to cook for about 15 minutes until golden brown.
Week 4: Savory Apple Custard from Switzerland
I was an au pair, think international nanny, in Switzerland for a year when I was young. The family had three boys under the age of 4 when I arrived and spoke Swiss German. They lived on a homestead with large vegetable gardens, fruit trees, horses and meat cows. Their house was originally built in 1689 and had been fully remodeled the year before after standing vacant for many years. I learned quite a bit about caring for children and cooking while I lived here. They baked all of their own bread and made all of their meals from scratch. This is where I first learned to bake bread.
Here is one recipe that I learned there that I’m looking forward to baking with my preschooler. This was from the mother’s Austrian upbringing, but she had adapted it over the years. We used the apples from their orchard, and this was an often-made afternoon snack for the boys. It doesn’t have flour, so no sourdough version. I was taught to use ground hazelnuts for the crust, but almonds work as well. It just gives a slightly different flavor to this apple custard. This custard is meant to be savory, not sweet, but if you desire a bit more sweetness, you can add honey.
Savory Apple Custard
1 tsp butter
1 cup ground almonds or hazelnuts
3 apples cored, peeled & grated
2 eggs
1 cup cream
2 tsps cinnamon
½ tsp nutmeg
¼ tsp cloves
2 tbsps honey (optional)
Preheat the oven to 350℉.
You can use a cast iron pan or a pie dish. Spread with a thin layer of butter. Then press the ground nuts into a crust to cover the baking dish.
Spread the grated apple into the baking dish like a pie. My daughter has been learning how to grate, but apples are slippery and were a bit too much for her. She loved dumping the grated apple into the dish and spreading them out though.
In a small bowl, mix the eggs, cream and spices together. My daughter enjoys using her own miniature whisk for this task.
Pour the mixture evenly over the apples.
Pop this into the oven for 25-30 minutes until it is set and golden brown on top.
Enjoy on its own or drizzle with a bit of honey.
Although my preschooler joins me with baking and cooking as she wishes, it was fun to have a set plan of baking together. Feel free to try these recipes yourself and see how they turn out. I would love any feedback.
Happy Baking!
Our September Preschool Plan – Apples & Fall Delight – hummingbirdhomelife.com
Free September Preschool Math Curriculum – hummingbirdhomelife.com
Leave a Reply